Kerbs
Kerb Menu
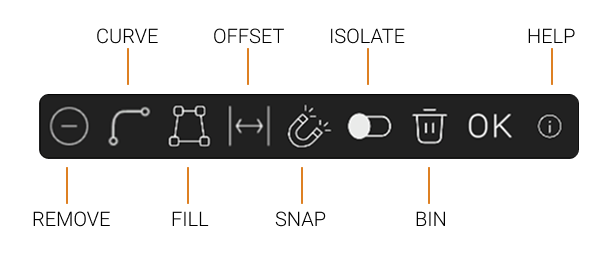
Remove
Removes the last touched kerb node.
Curve
Creates a curved kerb.
Fill
Adds a surface to your already created kerb line.
Offset
Create a kerb parallel to the kerb you've already made. The Offset menu will pop up, use the slider to move the red line to where you want the mirrored kerb to be. After you press "OK" a surface will be automatically added between the two kerbs.
Snap
The magnet feature snaps the nodes to the nearest existing points to help ensure alignment. They can also snap to surfaces and other kerbs
Isolate
Turns off all other objects.
Delete
Deletes the entire kerb.
OK
Confirm your kerb line.
Help
Access the help document for more information.
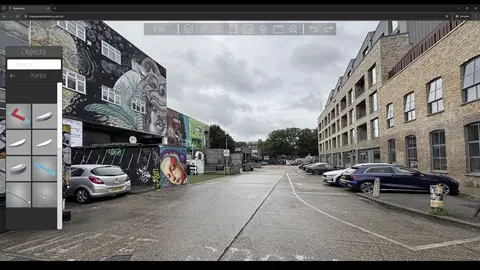
Placing Kerbs
If you choose a kerb from the Library of Things, a node will start to follow your mouse.
Step One
Click on a point in the image to set the starting point for your kerb.
Step Two
Click to create additional points. The kerb will automatically connect between them.,
Each new kerb node will snap to the closest existing node for a smooth, continuous path!
Step Three
To adjust the kerb, click and drag the nodes as needed.
Step Four
When finished, press OK in the object menu to finalise.
RIGHT CLICK on any existing kerb to edit it again!
Curving Kerbs
Once part of the kerb is placed, you can start curving sections of your kerbs.
Step One
Click on the Curve button. A red node will appear to the right of to your last touched white node.
Step Two
Click and drag the red node to curve the kerb as desired.